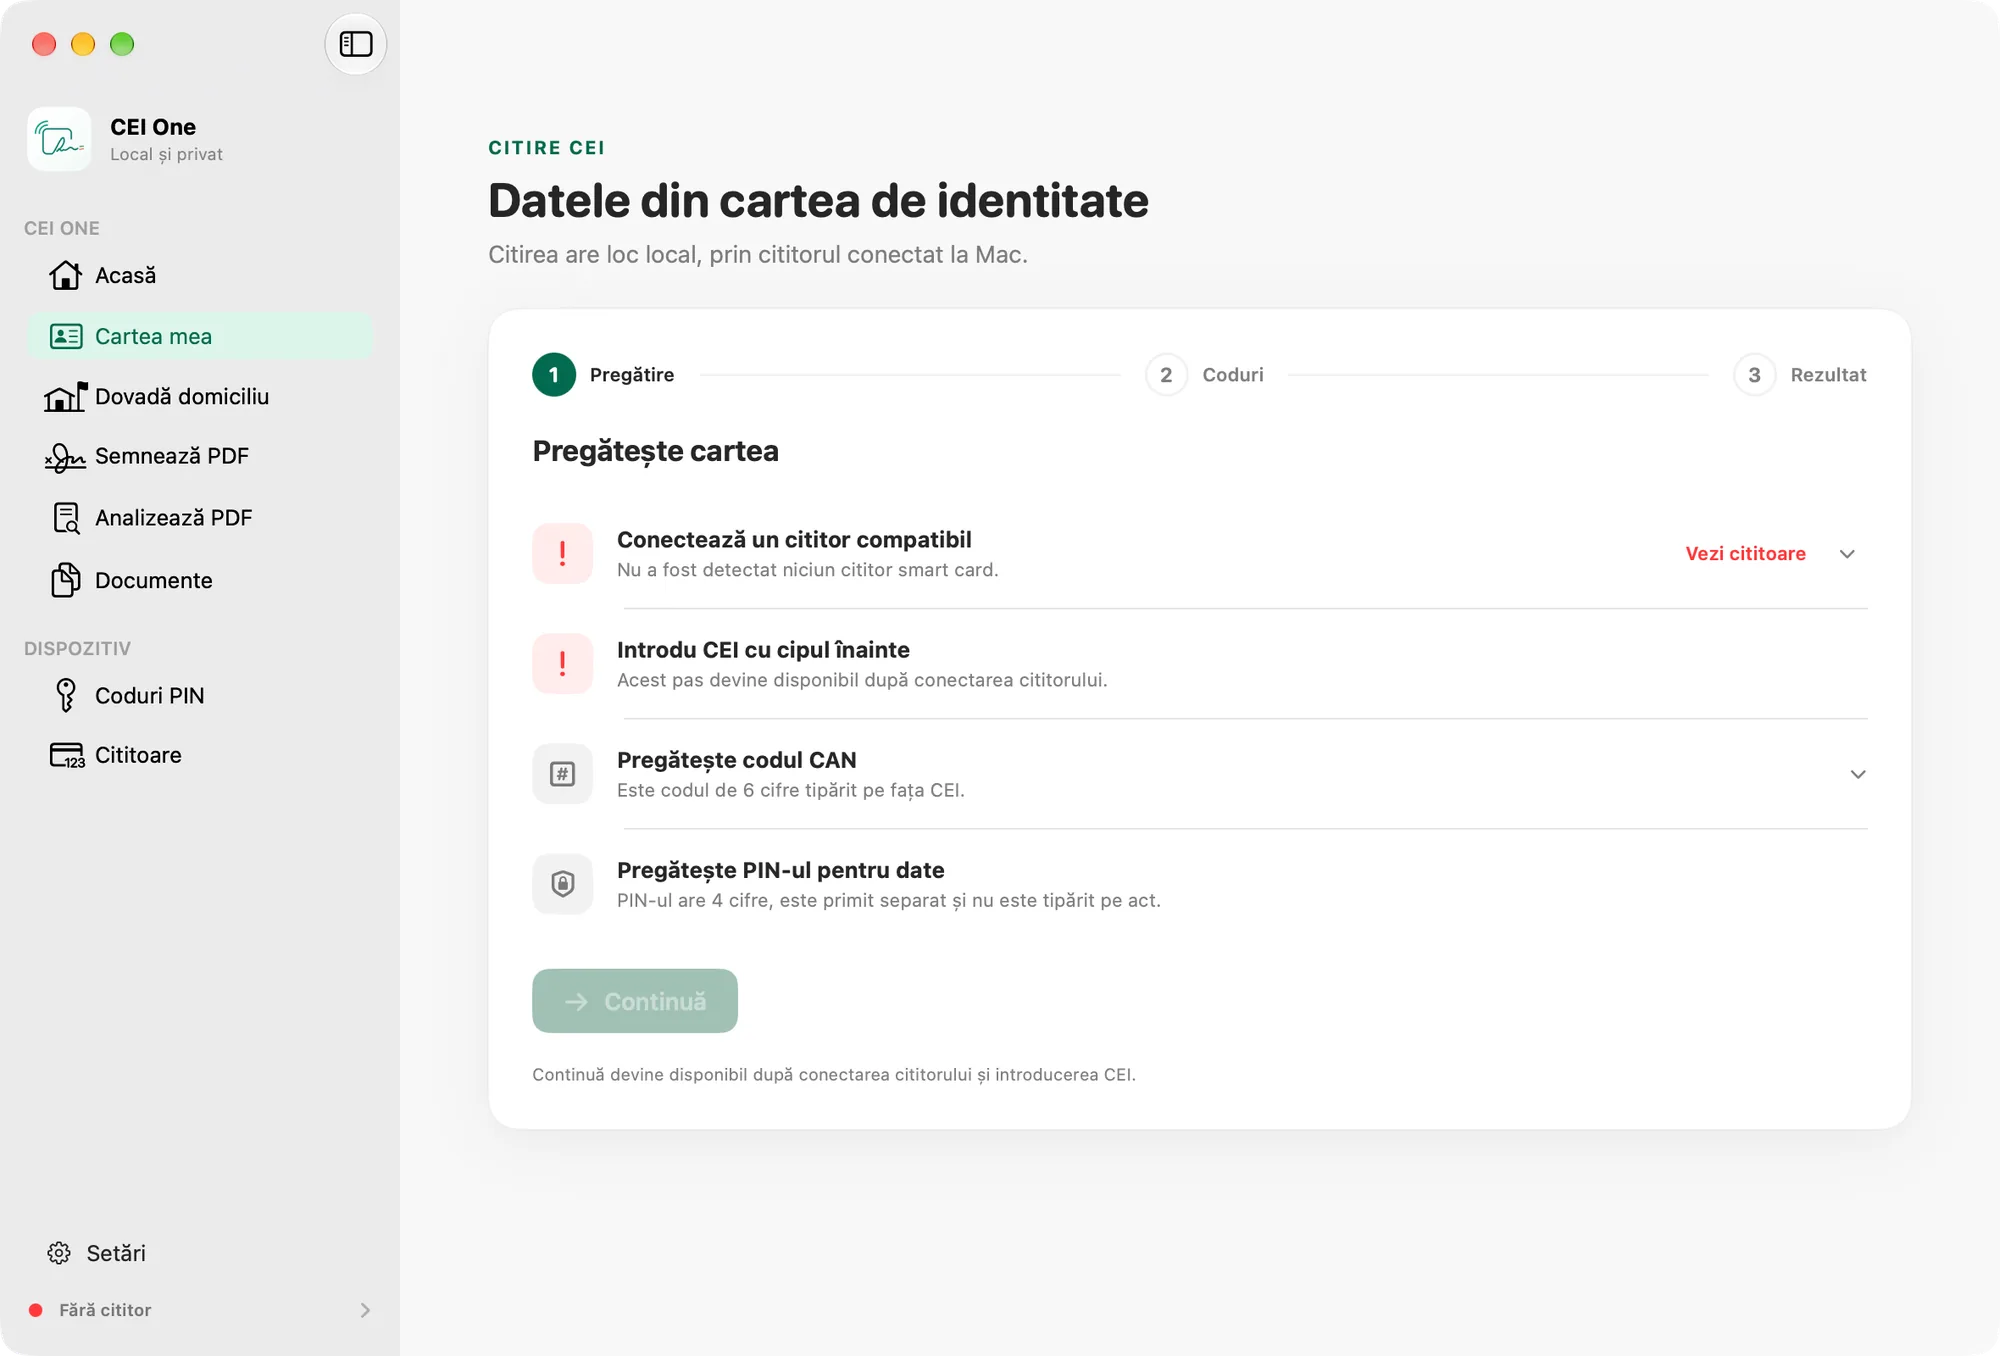
The My eID page reads the data on your eID through the reader connected to your Mac. The reading happens locally, and you need the CAN and the data PIN.
Before you start
- A contact card reader connected to your Mac. See Card readers on Mac.
- The CAN: the 6 digits printed on the front of your eID, immediately below the “Date of expiry” field.
- The data PIN: 4 digits, which you received separately. It isn’t printed on the eID.
You’ll find more about the codes in CAN and PIN codes.
Read the data
- Choose My eID in the sidebar (⌘2). You can also click Read the card on the Home page.
- At the Prepare the card step, insert your eID into the reader, chip first. The card row must show The eID is inserted correctly.
- Click Continue (Return). The button becomes available only after the reader detects the card.
- At the Unlock data access step, type the CAN into the 6 boxes under CAN code. The app checks the code with the card automatically and shows CAN verified.
- Type your data PIN into the boxes under Data PIN. They become available only after the CAN is verified.
- Click Read data (Return). Don’t remove the card from the reader until it finishes.
If you want to stop while the data is being read, click Cancel (Esc).
Tip
You can paste the digits with ⌘V. The boxes keep only the digits. The CAN digits are hidden while the window isn’t active, and the PIN is always hidden.
PIN attempts
Next to the PIN field, the app shows how many attempts you have left, if the card reports that number: for example 3 attempts remaining, Last attempt or PIN blocked. If your data PIN is blocked, you can’t read the data.
CEI One never retries a rejected PIN automatically. After a failed read, the codes are cleared and you enter them again. If the CAN check fails, the CAN stays in its boxes: correct it there.
Note
If you remove the card or insert a different one while you’re typing the codes, the app goes back to the Prepare the card step and clears the codes you entered.
The result
After the reading, you’ll see the data from the card:
- On the left: the photo, the holder’s name, the document number and the document status: Valid document, Expired document or Validity unconfirmed. If the card provided it, the handwritten signature appears too.
- On the right: the fields that were read, for example Name, Given names, Personal numeric code, Date of birth, Domicile and Date of expiry. You can select and copy the text.
Some eIDs don’t provide the photo or the handwritten signature through a contact reader. In that case, a message below the data tells you what’s missing.
The app checks the data signed by the issuer on your Mac. If that check fails, a warning appears above the data. When the check succeeds, no extra label appears.
What you can do next
- Under Export read data, choose Identity report or Domicile report. See Proof of address and identity report on Mac.
- Click Read again to start over from the first step.
Important
The data you read stays only in the current session. It’s gone when you quit the app, unless you save a report.
Remembered CAN
After a successful read with a CAN you typed, the app can offer Remember the CAN for this card. Choose Remember or Not now. Next time, Use the remembered CAN · ⟨name⟩ appears under CAN code (or the Use a remembered CAN menu, if you’ve remembered the CAN for several cards); after Touch ID or your Mac password, the code fills in and is checked automatically. The offer appears only if this card doesn’t already have a remembered CAN and your Mac account has a password. PINs are never remembered.
You’ll find details about remembered CANs in App lock and remembered CAN.